Introduction
For developers with minimal DevOps expertise, the learning curve for Kubernetes—and the numerous cloud hosting providers—can be steep. The Google Cloud Platform documentation provides a clear and detailed explanation of the platform and how to get started, but the level of detail may be overwhelming to developers who are not familiar with cloud-native architectures.
This post will show you how to quickly get started with a basic Kubernetes cluster using the GCP user interface. In the last section, you can optionally configure your cluster to enable you to deploy apps from outside GCP. At the end, you will have a Kubernetes cluster ready to support a basic containerized app.
1. Register a GCP account
First things first: go ahead and register for a GCP account if you haven’t already. Google offers a 12-month free trial of the platform that includes €300 in credits. This offers plenty of room for creating simple clusters and deploying apps. The resource limitations in the free trial will keep you from deploying anything too complex, though.
2. Create the cluster
Once you’ve registered, you will be given a Project. This is where you create all of your GCP resources.
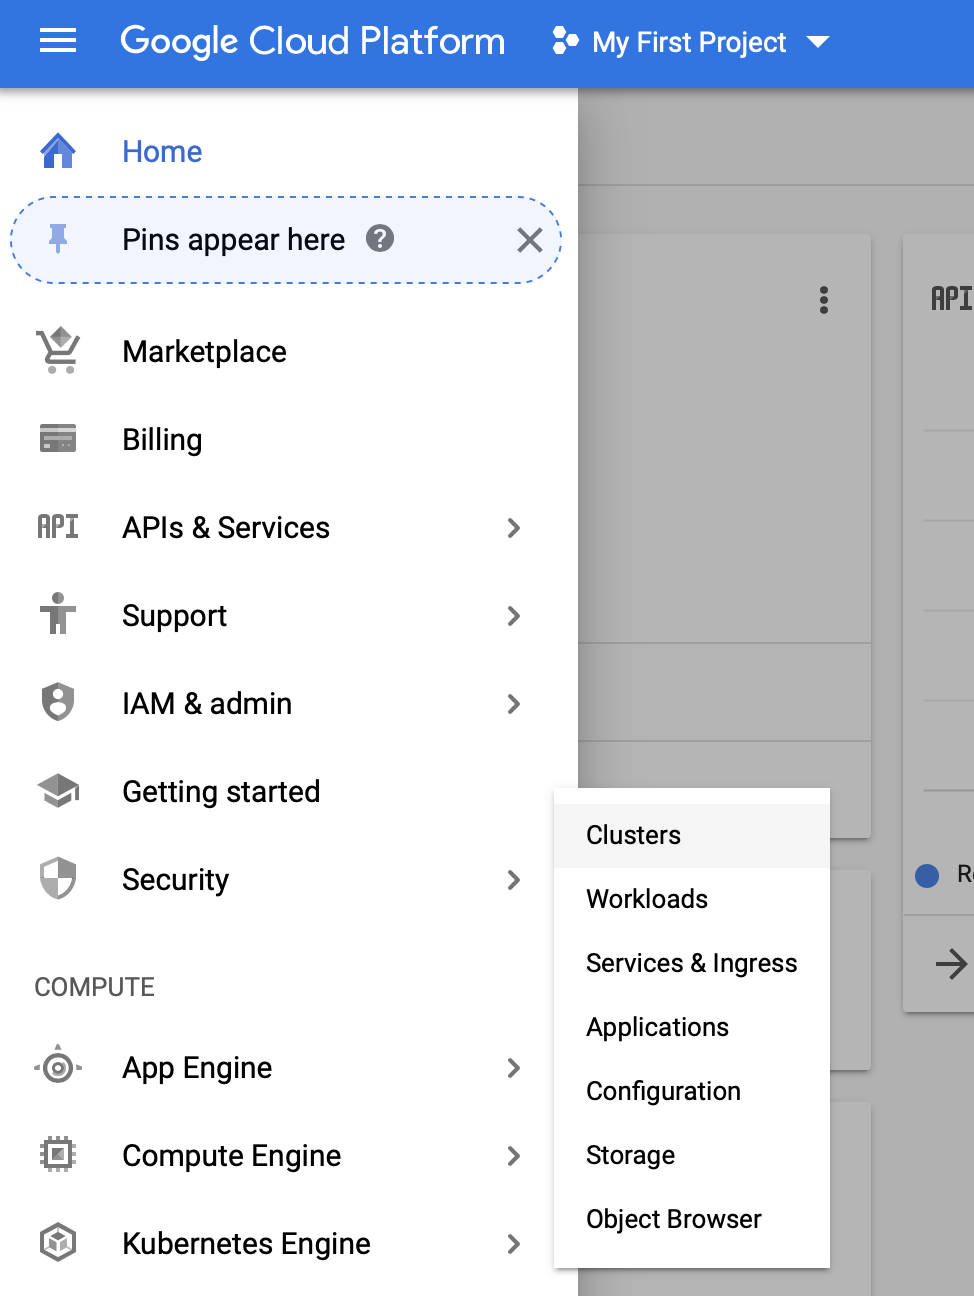
Now, click on the console menu in the top left, highlight Kubernetes Engine, and click Clusters:

Now, click the Create cluster button.
At this point, you will see a long list of cluster templates and cluster options to choose from. Leave the Standard cluster option selected and enter a new name for the cluster in the Name field.
- In the free trial, you’re only allowed to create a Zonal cluster, so leave this option selected.
- Choose a Zone that’s located close to you.
- The Master version defines which version of Kubernetes will be used by your cluster. There are many options to choose from, and you can leave it set to the default option.
- However, if you want to follow the configuration steps in the next section for accepting deployments from outside, then select at least 1.14.
- The next section lets you configure the default node pool for your cluster. This is the group of machines that GCP dedicates to running your cluster and its resources. You can leave this section as is, but if you want to do the configurations in the next section, then you should set the number of nodes to 6.
- Now, click Create.

It will take GCP some time to spin up your cluster (usually at least five minutes). GCP will send you a notification in the UI when your cluster is ready.
Don’t forget: if at some point you decide you don’t need your cluster, then you should delete it before it burns through your free credits.
3. Enable connections & deployments from outside
So at this point, you’ve got your cluster all set up. There are a number of ways to deploy code to your cluster. You could either manually upload your images to GCP, go to the Deployments section, and create a deployment there. However, if you’re working with a team on a project that has an entire CI/CD pipeline connected to your code repositories, Docker registry, and CI tool, then you will need to configure your cluster to accept connections from the outside.
Enable APIs
First, you need to enable three APIs for your Project: the Kubernetes Engine API, the Cloud Resource Manager API, and the Stackdriver API. These APIs provide the programmatic interface for your pipeline to create and update resources in your cluster.
Click on the console menu in the top left, highlight APIs & Services, and click Dashboard:

Enter the name of the API you want to enable in the search bar at the top of the page. When the API appears, click on it. Then, you’ll be taken to the API overview page; click Enable API.
Create service account
The service account provides access for your tools to create and update resources in your cluster.
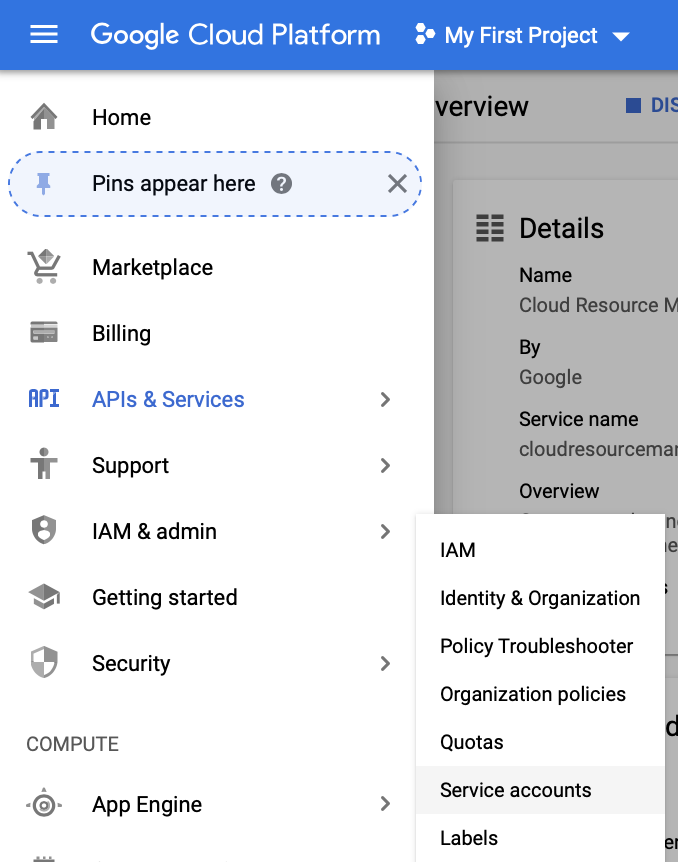
Click on the console menu in the top left, highlight IAM & admin, and click Service accounts:

Click Create service account at the top of the page.

Enter a name for your service account and click Create.
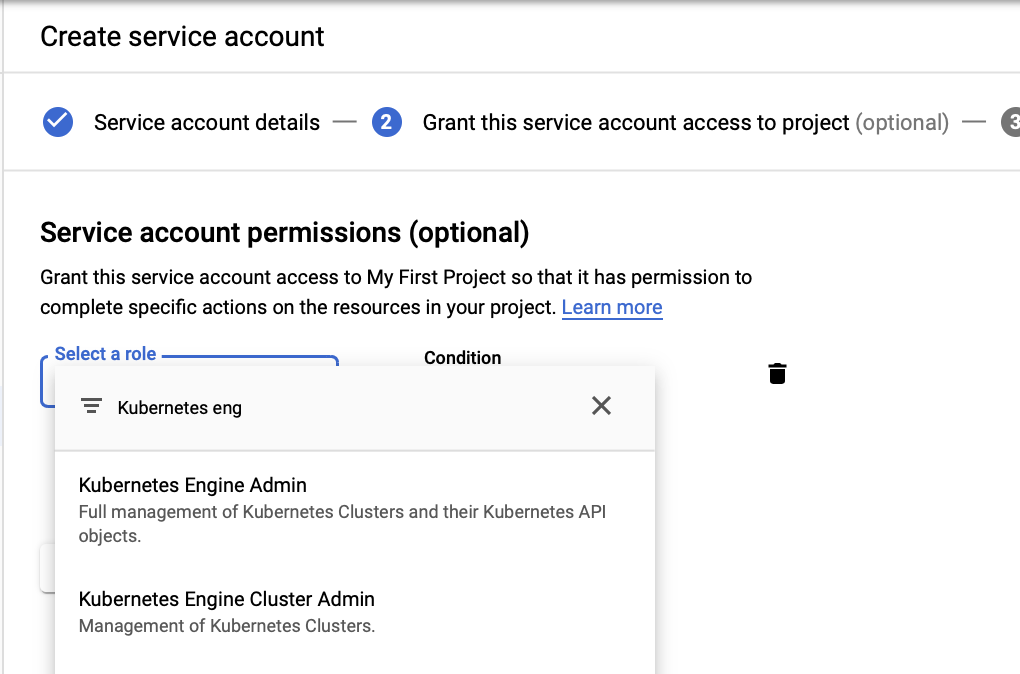
Next, you must define permissions for the service account. Click the dropdown field, enter Kubernetes Engine Admin, and click the role when it appears:

Click Continue.
You’re almost done, but now you must create an access key for the account. Whatever tool you’re using to deploy to your cluster will need this key in order to authenticate with the platform.
Click the Create key button, leave JSON selected, and save the file when prompted. Don’t lose this file because GCP will only give you this copy.
What can I do with my cluster now?
One of the most popular use cases of Google Cloud Platform is deploying containerized web applications. These apps consist of Docker images that are pulled from a registry and deployed as containers within your cluster. For GCP, developers normally use the Google Cloud SDK and kubectl to manage clusters and deploy to them.
When putting together the pipeline for deploying your codebase to your cluster, you should consider a process and a flow that makes it as easy as possible for you and the other devs on your team to deploy changes. The Humanitec platform bridges the gap between configuring your deployment environments (which you’d normally do in the GCP interface or with the command line tools) and deploying the code to your cluster.
By now, you’ve already got the Kubernetes infrastructure necessary to try out Humanitec. If you’d like to make configuring and deploying to your cluster easier, then go ahead and register for a free trial. You’ll be able to deploy your first app to your own GCP cluster in minutes. Our DevOps experts are happy to support you during a free webinar.


